
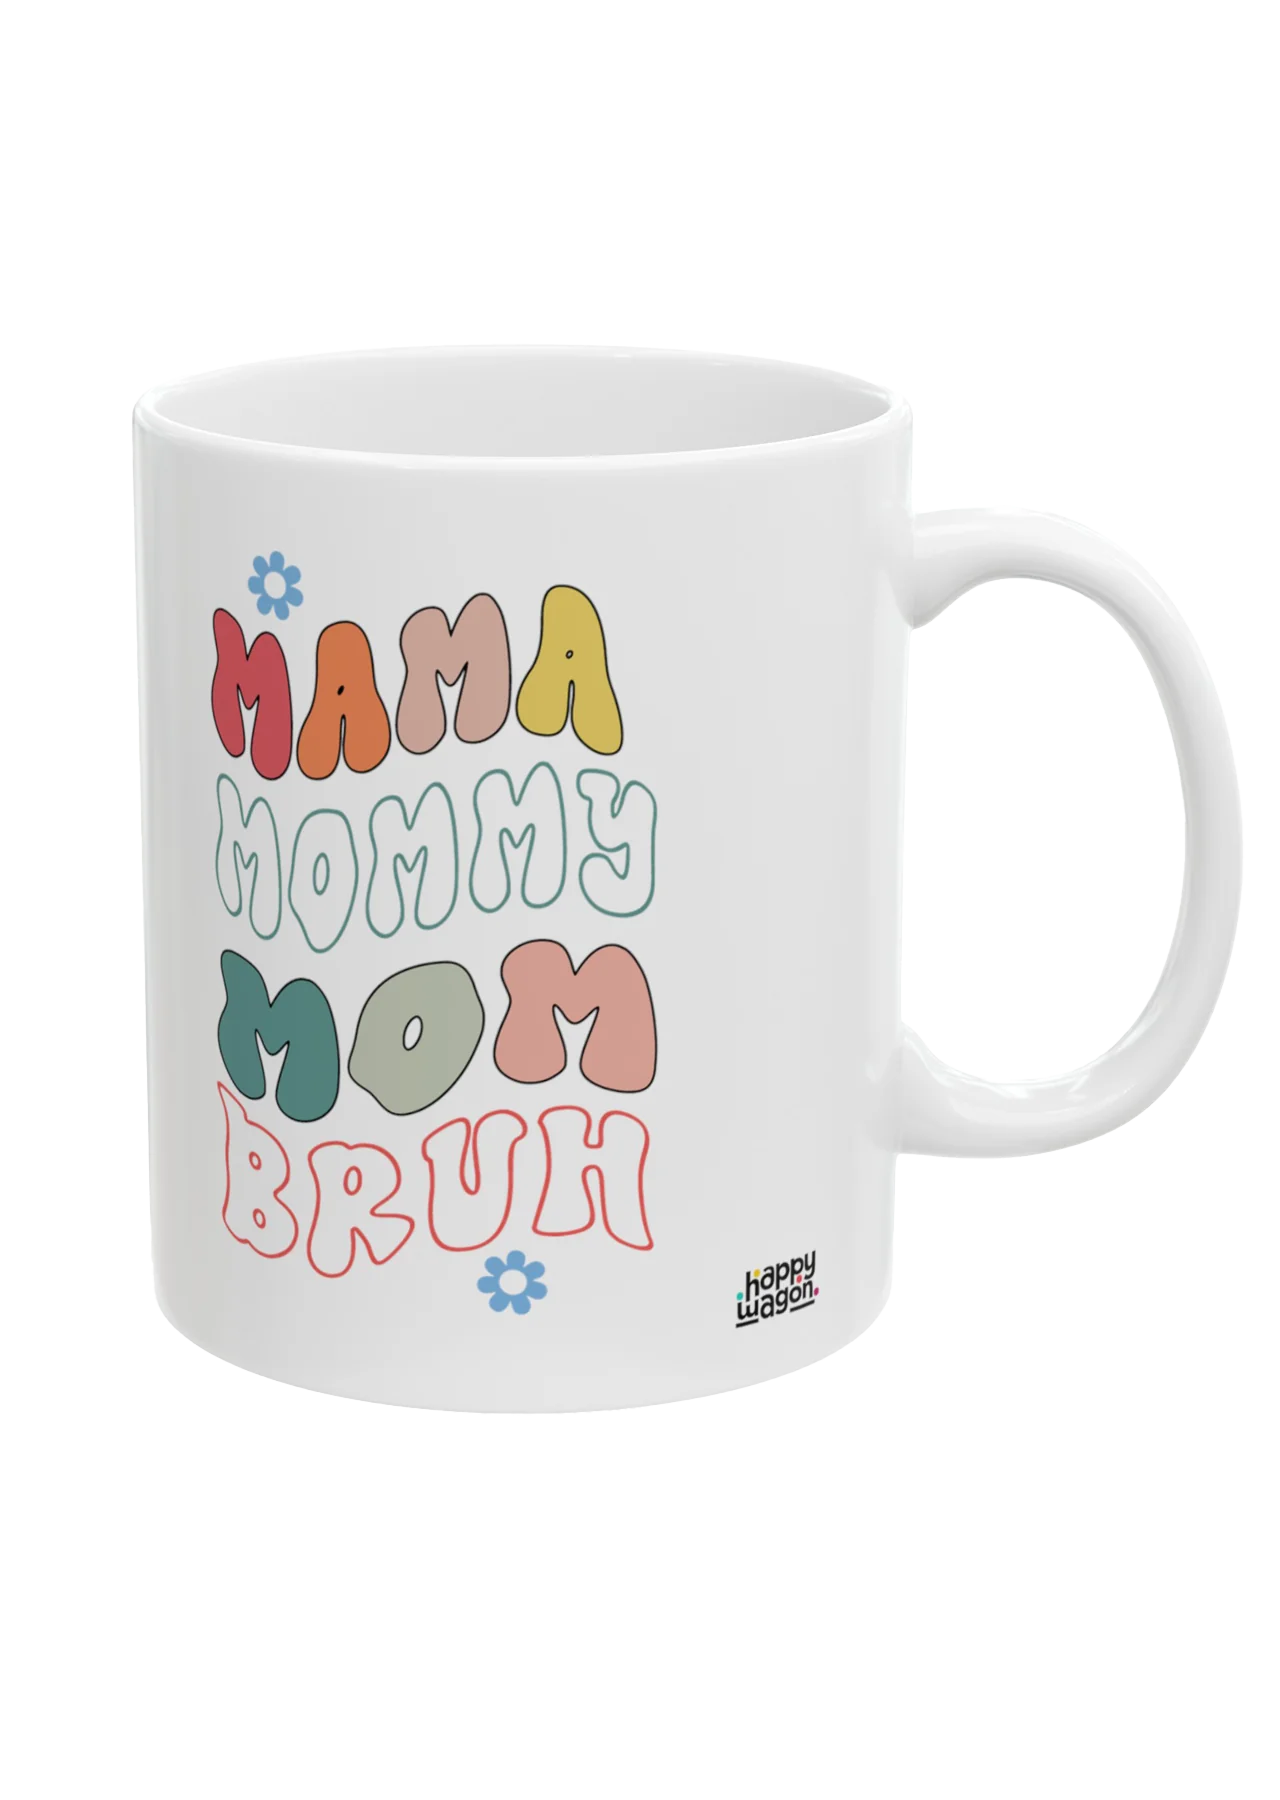
Mug test
Holiday Sale
Buy one, get one free on a curated list of customer favourites.
Great savings on specially selected products.
Exclusive releases you won’t want to miss.
Enjoy free delivery straight to your doorstep.
Choose options
How To Customize Your Photobook
Step 1: Upload Your Photos
Select the images you want to include in your photobook and upload them to the editor.
Step 2: Personalize Your Photobook
Enhance your photobook with a variety of layouts, and beautifully designed backgrounds to make it unique.
Step 3: Review and Checkout
Preview your photobook, ensure everything looks perfect, then proceed to the checkout to place your order.
Frequently Asked Questions
Click Images on the Tool Bar on the right-hand side and then select Upload. You can also drag and drop images directly into the upload image box.
After you have selected the desired layout, click the Images icon on the Tool Bar. Drag the desired photo onto the preview at the center of the editor.
Click the “Organize” arrow peeking out from the lower tab of the maker to add, delete, and rearrange pages.
Once you have completed the cover, use the right arrow to navigate to the next page, or scroll the layout bar at the bottom to select a page. Use the pre-filled layout or swap a new layout into the design by dragging and dropping.
You can have a maximum of 24 pages and minimum of 18 pages.
Yes! Note that it may take a few minutes for all of your images to populate into your Photobook. You can swap different photos into the layouts after you autofill.
Photobooks typically take 10-12 business days to print and process in our pro lab before they ship, but high volume can impact this.